Why People Swear by Sous Vide
Sous vide cooking is no longer reserved for high end restaurants. Home cooks are embracing it and with good reason. Its unique method delivers results that are hard to match with traditional techniques.
Stress Free Consistency
One of the biggest draws of sous vide is its “set it and forget it” nature. Once you set the temperature and time, the device takes over. No flame to monitor, no guessing just consistent, hands off cooking.
No need to multitask or hover over the stovetop
Perfect for busy weeknights or meal prep sessions
Reduces cooking anxiety and kitchen stress
Precision Leads to Perfection
Traditional cooking methods often leave room for error overcooked edges and undercooked centers. Sous vide removes that guesswork entirely.
Maintains water at a consistent, precise temperature
Cooks food evenly from edge to center
Ideal for meats, seafood, eggs, and even desserts
Flavor Packed and Nutrient Rich
By sealing food in a bag and submerging it in water, you lock in moisture, flavor, and nutrients all while using less fat and seasoning.
No flavor loss through evaporation
Juicier, more tender results
More vitamins and minerals are retained compared to high heat methods
Sous vide proves that you don’t need complex techniques to cook like a pro just the right approach, and the right tools.
The Must Have Gear
Let’s cut straight to it. Sous vide doesn’t work without the right setup but that doesn’t mean expensive or complicated. Here’s what actually matters:
Immersion Circulator: What It Is and Which Features Matter
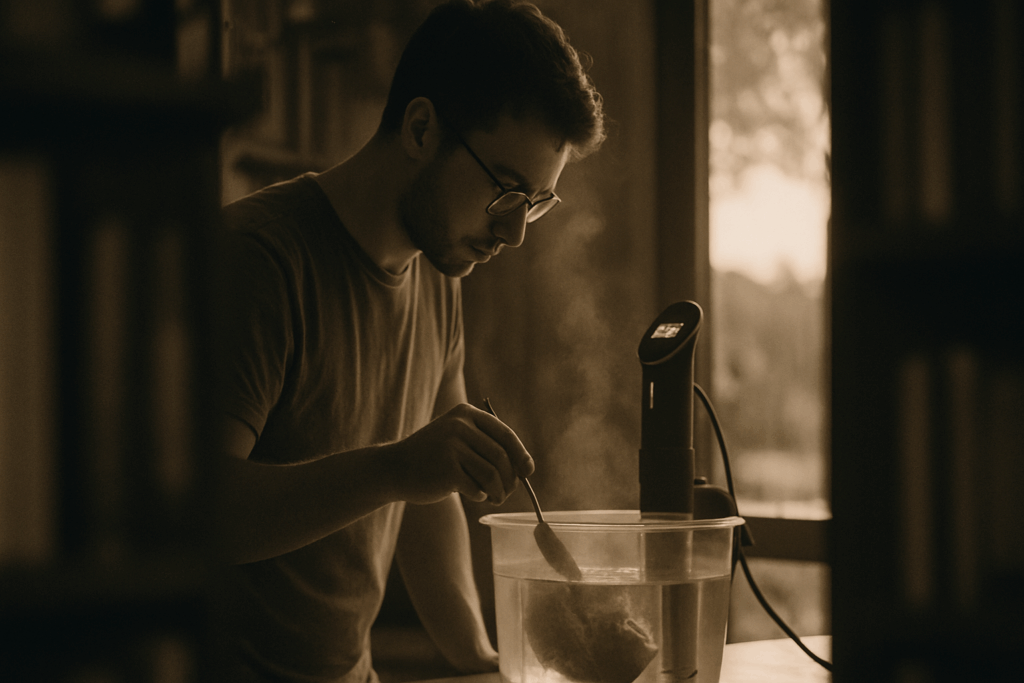
This is your engine. An immersion circulator heats and circulates the water, keeping it at a stable, precise temperature. That precision is the whole point of sous vide.
When picking one, don’t overthink it. Look for temperature accuracy (within 0.1 °C), solid build quality, and quiet operation. Wi Fi or Bluetooth is nice but not essential unless you’re into remote cooking control.
Avoid stuff that nags you with clunky apps or overly touchy settings. Set it, trust it, walk away.
Vacuum Sealer vs. Water Displacement Method
A vacuum sealer sucks the air out and seals the bag shut great for longer cooks or batch prepping. It keeps the bag from floating and improves heat transfer. Bonus: it gives you freezer ready meals.
The water displacement method is simpler and cheaper. Just place your food in a zip top bag, lower it slowly into the water (air gets pushed out), and seal just before it’s fully submerged. Works well for quick cooks like eggs or salmon.
Use what you’ve got but know a vacuum sealer makes things smoother if sous vide becomes a habit.
Top Containers to Use (and What to Avoid)
Any heat safe vessel deep enough to submerge your food works. But not all are equal.
Best options: polycarbonate containers or stock pots. They retain heat well and hold shape.
Avoid: thin walled plastic tubs or anything that warps when hot. And skip insulated coolers unless you’re doing large batches they can mess with precision if you’re not careful.
A lid or cover helps reduce water loss. If your container didn’t come with one, a layer of ping pong balls or plastic wrap does the trick.
Bottom line: You don’t need a drawer full of gadgets to start. One circulator, a simple container, and a way to seal bags that’s it. Everything else is optional.
Step by Step: How to Get Started
Let’s keep it simple. Sous vide isn’t flashy, but it wins by doing the basics right every time. Here’s how to nail your first cook without overthinking it.
Filling your container and setting the temp
Start with a heat safe container deep enough to cover the food bag entirely. Fill it with water leave a couple inches from the top to prevent spills when the bag goes in. Set your immersion circulator to the temperature that matches what you’re cooking. A good steak? Aim for 129°F for medium rare. Chicken breast? Around 145°F. Veggies run hotter usually between 183°F and 190°F.
Bagging it right: removing air without ruining the seal
Vacuum sealers are ideal, but the water displacement method works fine in a pinch. Use a sturdy zip top freezer bag, place your food inside, and slowly lower it into the water. The pressure pushes air out. Just seal the bag when the water line is near the top of the zipper. Don’t leave trapped air it messes with circulation and even cooking.
Submerging your food safely and evenly
Keep your bag fully submerged without touching the circulator. Clip it to the side of the container if needed, and don’t overcrowd. Water needs to flow freely around the bag. If it floats, double check for trapped air or add a small weight (like a spoon) inside the bag, away from the food.
Cooking times: rough guides for steak, chicken, vegetables
Time matters almost as much as temp:
Steak (1 1.5 inches thick): 1.5 2.5 hours
Chicken breast: 1.5 2 hours
Salmon: 40 60 minutes
Carrots or potatoes: 1.5 2 hours at higher temps (185°F+)
These are flexible ranges, not rigid rules. The beauty of sous vide is you won’t overcook if you go a little long but don’t leave it in all day unless you’re slow cooking something tough on purpose.
Bottom line: precision cooking starts with prep. Nail each of these steps, and you’re already ahead of the pack.
Pro Tips Most Beginners Miss

Seasoning works differently in a sous vide bag. Since the food is cooking in a sealed environment for a long time, flavors don’t evaporate they recirculate. That means too much salt or strong spices can intensify past the point of tasty. Go lighter than you would with traditional methods, especially for long cooks. Basic herbs, garlic, or a bit of butter go a long way.
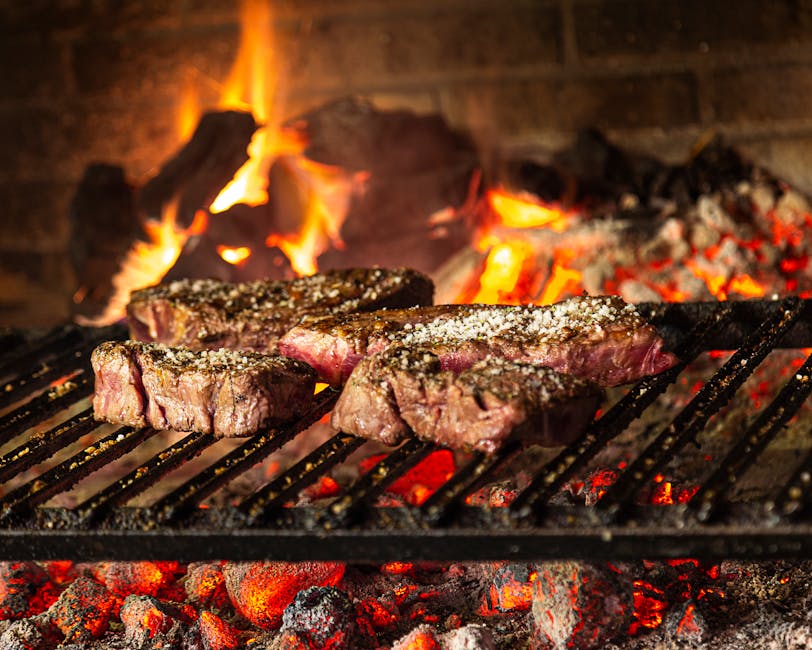
After the bath, the real game changer is the sear. Do it fast and hot. You’re not cooking the food further you’re chasing flavor and texture. That quick sizzle adds the crust your steak or chicken missed in the water. But delay it too long after sous vide, and you lose the heat and moisture balance.
Once it’s seared, let it sit. Even a couple of minutes helps the juices redistribute. Skip this step, and you might as well pour flavor straight onto the cutting board.
Oh and don’t stash your sous vide food warm. Let it cool to fridge temp before storing. Warm, sealed food is a playground for bacteria. You cooked it with care finish strong with food safety dialed in.
Common Mistakes to Dodge
Even with the precision of sous vide cooking, beginners often run into avoidable issues that can affect the final result. Here are a few to watch out for:
Overcooking Isn’t Impossible
Sous vide is known for cooking food gently over long periods, but that doesn’t mean you can walk away indefinitely. While the risk of overcooking is lower than with traditional methods, texture changes can occur if food is left in the water bath too long.
Meats may become mushy or overly soft
Vegetables can get overly tender and lose structure
Follow time guidelines even at low temps, timing matters
Watch for Soggy Results
If your food comes out wet or waterlogged, the problem likely isn’t the recipe it’s your bag or container setup.
Poor sealing lets water seep into your food
Avoid bags with weak seals, or double bag if unsure
Keep your bag fully submerged using weights or clips to ensure even cooking
Don’t Underseason
Because sous vide retains so much natural flavor, many beginners hold back on seasoning. But in most cases, subtle doesn’t mean better.
Salt and herbs should be applied before cooking
Marinades are fine, but be aware of how they infuse over time
A light touch works but no seasoning at all can leave food bland
Bonus Resource
Still not sure how to troubleshoot your sous vide process?
Check out this guide for more help: Common Cooking Mistakes and How to Avoid Them
What to Try First
Start simple. Chicken breast, salmon fillets, and soft boiled eggs are dead easy wins with sous vide. They showcase the precision of the method without needing a culinary degree or a backup dinner plan. Chicken breast comes out juicy without effort, and salmon keeps its delicate texture while locking in flavor. As for the eggs, they’re the gateway drug: creamy whites, custardy yolks, totally hands off.
What shouldn’t you mess with right out the gate? Skip the briskets, ribs, or anything that needs 36+ hours and fancy marinades. Same goes for ultra expensive cuts like dry aged steak or wild caught halibut save those for when you’ve got your timing, sealing, and searing down. Early mistakes happen, and it’s better they happen with cheaper ingredients.
Want to play a little? Try marinating chicken before sealing, or toss herbs and citrus into the salmon bag. Stick with small portions, keep your cook times short, and adjust variables one at a time. It’s the best way to learn without burning through your grocery budget.
Moving Forward
Building a sous vide habit doesn’t mean turning every dinner into a food science project. Start small. Pick one or two nights a week where you plan ahead drop a couple chicken breasts or salmon filets into the water bath while you go about your day. The goal isn’t fancy. It’s repeatable, reliable meals that don’t stress you out. That’s where this method shines.
Want to get better, faster? Lean into the communities and tools already out there. Apps like Sous Vide Recipes by ChefSteps or Anova’s app offer time and temp guides plus inspiration. Reddit’s r/sousvide and Facebook groups host real time feedback and plenty of no nonsense tips from home cooks who’ve seen it all. YouTube, of course, is loaded with creators demystifying everything from chuck roast to crème brûlée.
In the end, it’s not really about the gear or the gadgets. It’s about control knowing dinner will be good, every time, without thinking too hard. That’s the real magic. And once you’ve got a rhythm, you’ll start finding your own shortcuts and go to meals. No stress, just food that works.
 Ask Virgilio Feeleystin how they got into cooking tips and techniques and you'll probably get a longer answer than you expected. The short version: Virgilio started doing it, got genuinely hooked, and at some point realized they had accumulated enough hard-won knowledge that it would be a waste not to share it. So they started writing.
What makes Virgilio worth reading is that they skips the obvious stuff. Nobody needs another surface-level take on Cooking Tips and Techniques, Delicious Recipe Ideas, Culinary Trends and Innovations. What readers actually want is the nuance — the part that only becomes clear after you've made a few mistakes and figured out why. That's the territory Virgilio operates in. The writing is direct, occasionally blunt, and always built around what's actually true rather than what sounds good in an article. They has little patience for filler, which means they's pieces tend to be denser with real information than the average post on the same subject.
Virgilio doesn't write to impress anyone. They writes because they has things to say that they genuinely thinks people should hear. That motivation — basic as it sounds — produces something noticeably different from content written for clicks or word count. Readers pick up on it. The comments on Virgilio's work tend to reflect that.
Ask Virgilio Feeleystin how they got into cooking tips and techniques and you'll probably get a longer answer than you expected. The short version: Virgilio started doing it, got genuinely hooked, and at some point realized they had accumulated enough hard-won knowledge that it would be a waste not to share it. So they started writing.
What makes Virgilio worth reading is that they skips the obvious stuff. Nobody needs another surface-level take on Cooking Tips and Techniques, Delicious Recipe Ideas, Culinary Trends and Innovations. What readers actually want is the nuance — the part that only becomes clear after you've made a few mistakes and figured out why. That's the territory Virgilio operates in. The writing is direct, occasionally blunt, and always built around what's actually true rather than what sounds good in an article. They has little patience for filler, which means they's pieces tend to be denser with real information than the average post on the same subject.
Virgilio doesn't write to impress anyone. They writes because they has things to say that they genuinely thinks people should hear. That motivation — basic as it sounds — produces something noticeably different from content written for clicks or word count. Readers pick up on it. The comments on Virgilio's work tend to reflect that.