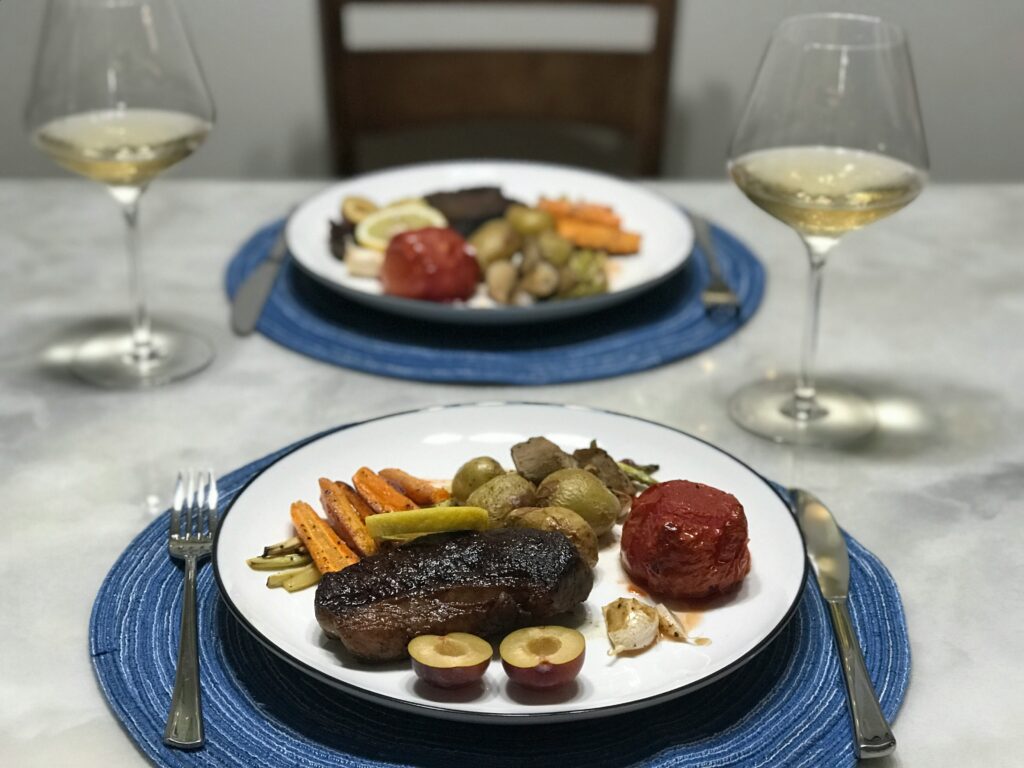
What Actually Happens When You Fry
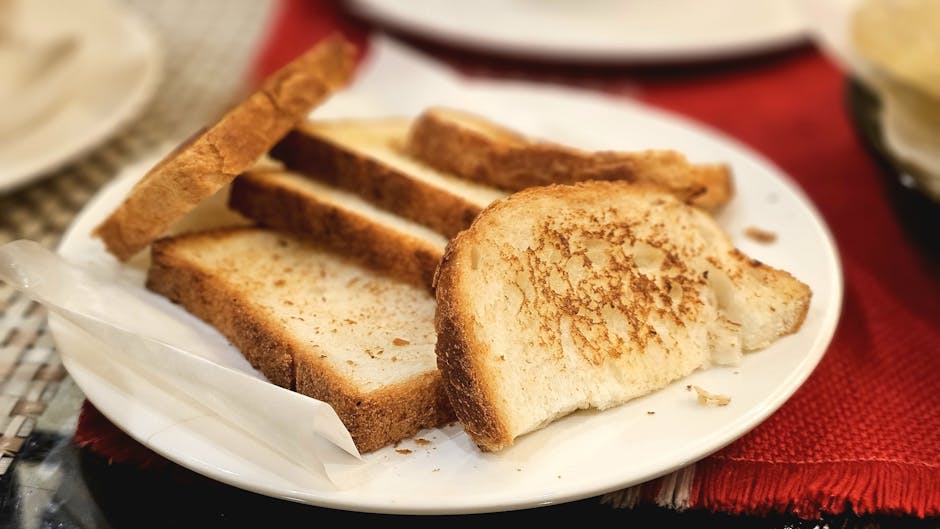
Frying isn’t just about dunking food in hot oil it’s chemistry at work. First up: the Maillard reaction. This complex browning process kicks in when proteins and sugars meet high heat, usually around 300°F (150°C). It’s what gives fried food that deep, savory flavor and golden color. Think seared steak crust, toasted bread, or a perfectly crisp French fry it all starts here.
Oil’s role goes beyond fat. It acts as a fast, even heat transfer medium. Unlike dry heat (like your oven), oil surrounds food completely, cooking it from all angles and locking in moisture. Done right, this gives you that crisp outside and tender center.
Now, the enemy: water. Any surface moisture will turn to steam when it hits hot oil. That steam creates bubbles and splatter but more importantly, it blocks crust formation. If there’s too much water, your food won’t brown well and will come out soggy. Key takeaway? Dry your ingredients before they touch the oil.
Get the chemistry right, and you’re halfway to frying like a pro.
Choosing the Right Oil
Every oil has a breaking point called its smoke point. That’s the temperature where oil stops being helpful and starts breaking down, smoking, and turning bitter. At that stage, you’re not just wrecking flavor you could also be producing harmful compounds. For frying, you want oil that can take the heat without tapping out early.
This is where neutral oils earn their keep. Canola, peanut, and sunflower oils all have high smoke points (usually 400°F or higher) and clean flavors that won’t overpower the food. They let the texture and seasoning shine and they’re more forgiving when the pan gets hot.
Avoid olive oil and other low smoke point fats for high heat jobs. They’re fine for finishing or light sautéing, but under frying temps, they’ll burn fast and throw off the whole batch. In short: if you’re going to fry, keep it simple, clean, and heat tolerant. Your kitchen (and tastebuds) will thank you.
Temperature is Everything
Maintaining proper oil temperature is one of the most important and underrated parts of successful frying. When the oil is in the optimal range, your food cooks evenly, crisps beautifully, and absorbs less grease.
Ideal Frying Range
Consistent heat delivers consistent results. For most fried foods:
Temperature Range: 350°F to 375°F (175°C to 190°C)
This range allows for fast cooking without burning or oil absorption
It promotes even browning thanks to the Maillard reaction and quick moisture evaporation
What Happens When Oil Temperature Is Off
Too Cold (Below 325°F / 163°C):
Food absorbs more oil and turns soggy
Crust forms slowly, if at all
Color may be pale but texture is greasy
Too Hot (Above 390°F / 199°C):
Surfaces burn before interiors cook through
Risk of acrid, bitter flavors from burnt starch or batter
Could lead to dangerous oil smoking or kitchen fires
Tips for Keeping Oil Temperature Stable at Home
Keeping a steady fry temperature is part art, part routine. Here’s how to stay in the ideal range:
Use a frying thermometer: An instant read or clip on thermometer gives precise feedback, eliminating guesswork
Don’t overcrowd the pan: Add too much cold food and the oil temp will plummet
Fry in small batches: Allows the oil to recover between rounds
Preheat properly before frying: Give oil time to reach target temperature before adding food
Adjust burner heat as needed: Make small changes to maintain the range as you cook
Pro Tip: If you’re not using a thermometer, drop in a small cube of bread it should sizzle and brown in about 60 seconds at 350°F.
Consistent temperature separates amateur frying from pro level crispiness. Master this, and every bite crunches just right.
Dry Ingredients Make Crispy Crusts
Why Moisture Ruins Crunch
When it comes to frying, moisture is the enemy of crispiness. Any excess water on the surface of your food turns to steam when it hits hot oil. That steam pushes outwards and prevents the batter or breading from setting properly, often resulting in soggy or uneven textures.
Water creates steam, disrupting crust formation
Steamed coatings lack crunch and tend to fall off
Moisture also causes dangerous splattering in hot oil
Prep Step: Pat Everything Dry
Before your food ever hits the coating station or the oil your goal should be dryness.
Blot proteins like chicken or fish with paper towels
Let washed vegetables air dry fully
Avoid wet marinades that haven’t been fully absorbed
Taking the time to pat ingredients dry ensures a stable surface for coatings to cling to and gives you a better chance at that golden crunch.
The Science Behind a Solid Crust
Great frying isn’t just about the batter it’s about how the starch interacts with the ingredients and oil.
Starch adhesion: Dry starches (like flour or cornstarch) grip best when your ingredient is dry, forming a glue like base for batters
Golden color: Starches caramelize and brown during frying, creating that beautiful crust
Layering: A dry flour base followed by a thicker batter or breadcrumb coating yields the best structure
Tip: Rest your coated food for a few minutes before frying. This helps the outer layer bond better and prevents it from falling apart mid cook.
Don’t Overcrowd the Pan
Frying may seem simple, but success often comes down to spacing. Overcrowding is one of the most common mistakes in home frying and one of the easiest to fix.
Why Crowding Kills the Crunch
When you place too much food in the oil at once, you instantly drop the temperature. Lower oil temperatures extend cooking time and cause ingredients to absorb more oil, leading to greasy, soggy results rather than crispy perfection.
Oil temp drops fast with too much food
Cool oil = oily, unevenly cooked food
Longer frying times increase oil absorption
The Case for Small Batches
Small batches might take longer overall, but the quality more than makes up for the time spent.
Maintain optimal frying temperature (350°F to 375°F)
Even cooking from edge to edge
Faster rebound in oil temperature between batches
Better color, texture, and flavor
Rest Fried Foods the Right Way
Where and how you rest your fried food post fry matters. Skip the paper towels they trap steam, softening your crunchy coating.
Use a wire rack over a baking sheet to allow airflow and preserve crispness:
Prevents sogginess from trapped steam
Enhances final texture by keeping batter lifted
Works with oven set to low temp (around 200°F) to keep food warm and crisp
By keeping the pan spaced out and resting food properly, you’ll make every batch lighter, crispier, and more consistent.
Safe and Efficient Frying
Frying at home can go from fun to frustrating fast if your kitchen turns into a fog of oil and splatter. Step one: ventilate like you mean it. Crack a window, run your stove’s exhaust fan (if it’s worth anything), and maybe even position a small fan near the stove to keep air moving. Grease laden air isn’t just lousy to breathe it coats cabinets and walls over time.
Next, don’t treat used oil like it’s magic elixir you can use forever. You can reuse frying oil a few times if you’ve cooked clean think plain potatoes, not battered fish or marinated meats. Strain it with cheesecloth or a fine mesh sieve to remove food particles, and always store it in a sealed jar in a cool, dark place. As soon as it smells off, turns dark, or starts smoking too early, it’s done. Toss it safely. Don’t pour oil down the sink. Ever.
Which brings us to cleanup. Dealing with oil doesn’t need to end with a clogged drain and a plumber’s bill. Wipe out cooled pans with paper towels before washing. Use a disposable container for used oil if it’s going in the trash (let it cool first), or check your local rules for oil recycling. Greasy messes lose their drama when you’ve got a plan.
Want to Master the Frying Basics?
No need to guess your way through frying. We’ve lined up a no nonsense guide that walks you through everything from tools to timing to oil management. Whether you’re brand new to frying or tired of soggy crusts, this resource strips the fluff and brings solid, actionable advice. Step by step techniques, pro level tips, and key frying checklists are all in there.
Start here and level up fast:
→ How to Fry Properly
→ How to Fry Properly
Final Tip: Precision Wins
If you’re serious about frying at home, a proper thermometer is non negotiable. Guesswork is the enemy of crisp, golden food. The sweet spot 350°F to 375°F isn’t something you can eyeball. You hit it or you don’t. And the only way to know is to measure.
Start by preheating your oil and testing it before the first item drops in. But don’t stop there. Monitor the temp as you go adding food pulls it down, and the heat needs adjusting. No auto pilot here. When the time and temperature line up, results follow: crunch on the outside, just cooked on the inside.
Great frying is equal parts science and repetition. The good news? You don’t need a chef’s coat, just attention and a little patience. With each batch, you’ll get sharper. Cleaner technique, better texture, fewer surprises. That’s how home cooks master the crisp.
 There is a specific skill involved in explaining something clearly — one that is completely separate from actually knowing the subject. Zyvaris Zorthane has both. They has spent years working with seasonal and festive recipes in a hands-on capacity, and an equal amount of time figuring out how to translate that experience into writing that people with different backgrounds can actually absorb and use.
Zyvaris tends to approach complex subjects — Seasonal and Festive Recipes, Healthy Meal Prep, Culinary Trends and Innovations being good examples — by starting with what the reader already knows, then building outward from there rather than dropping them in the deep end. It sounds like a small thing. In practice it makes a significant difference in whether someone finishes the article or abandons it halfway through. They is also good at knowing when to stop — a surprisingly underrated skill. Some writers bury useful information under so many caveats and qualifications that the point disappears. Zyvaris knows where the point is and gets there without too many detours.
The practical effect of all this is that people who read Zyvaris's work tend to come away actually capable of doing something with it. Not just vaguely informed — actually capable. For a writer working in seasonal and festive recipes, that is probably the best possible outcome, and it's the standard Zyvaris holds they's own work to.
There is a specific skill involved in explaining something clearly — one that is completely separate from actually knowing the subject. Zyvaris Zorthane has both. They has spent years working with seasonal and festive recipes in a hands-on capacity, and an equal amount of time figuring out how to translate that experience into writing that people with different backgrounds can actually absorb and use.
Zyvaris tends to approach complex subjects — Seasonal and Festive Recipes, Healthy Meal Prep, Culinary Trends and Innovations being good examples — by starting with what the reader already knows, then building outward from there rather than dropping them in the deep end. It sounds like a small thing. In practice it makes a significant difference in whether someone finishes the article or abandons it halfway through. They is also good at knowing when to stop — a surprisingly underrated skill. Some writers bury useful information under so many caveats and qualifications that the point disappears. Zyvaris knows where the point is and gets there without too many detours.
The practical effect of all this is that people who read Zyvaris's work tend to come away actually capable of doing something with it. Not just vaguely informed — actually capable. For a writer working in seasonal and festive recipes, that is probably the best possible outcome, and it's the standard Zyvaris holds they's own work to.