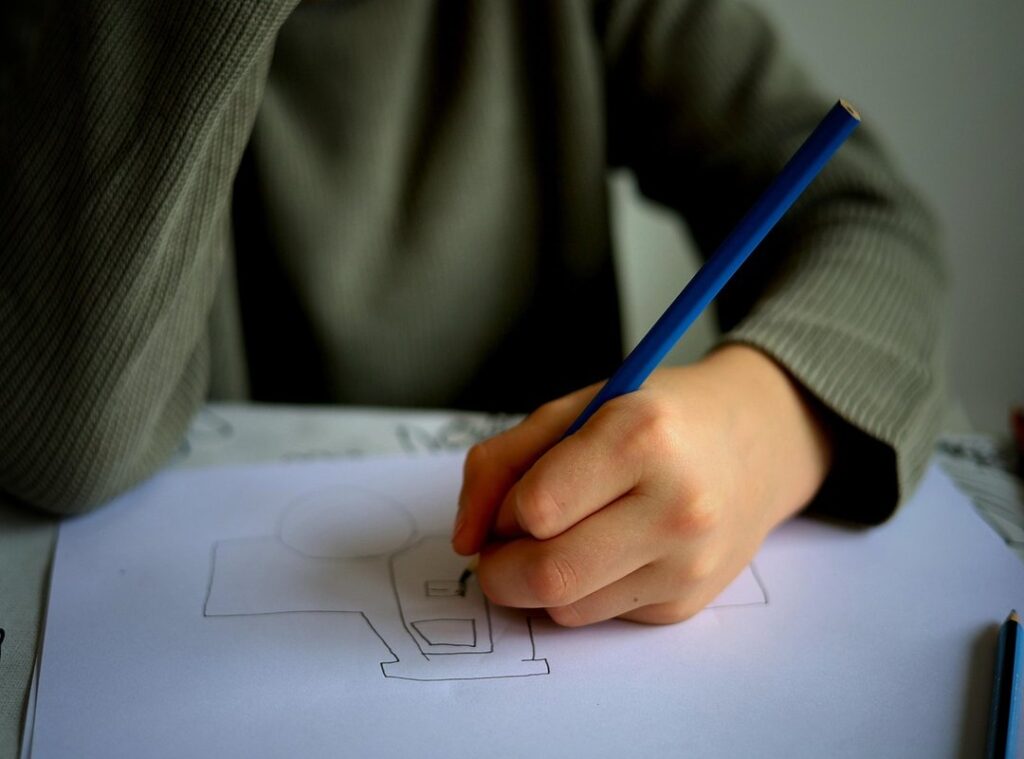
Drawing Kylian Mbappé can be a thrilling challenge. It’s not easy to capture the likeness of one of the world’s most famous soccer stars, but with the right approach, it’s totally doable.
This guide breaks down the process into simple, easy-to-follow steps. Whether you’re a beginner or a more experienced artist, you’ll find this tutorial super helpful.
We’ll cover everything from the materials you need to the basic shapes and key features. By the end, you’ll have the skills to create a recognizable portrait of mbappe tekenen. Trust me, it’s easier than you think.
Gathering Your Essential Drawing Supplies
Let’s get to the basics. You’ll need good quality drawing paper, a range of graphite pencils, and a reliable eraser. For pencils, grab an HB for sketching, and 2B and 4B for shading.
These give you a nice variety.
A kneaded eraser is your friend, and it lifts graphite without damaging the paper. Trust me, it’s a game changer.
You’ll also want a pencil sharpener or craft knife. Keeping your pencils sharp is key for those fine details.
Optional but super helpful: blending stumps or cotton swabs. They help with smooth shading. Don’t skip these if you can help it.
Lastly, find a few high-quality reference photos of Mbappé from different angles. This will make your mbappe tekenen project much easier.
Step 1: Mapping Out the Head and Proportions
Let’s start by lightly sketching a basic oval shape for the head. This will be the foundation of your drawing.
Next, draw a vertical centerline and a horizontal eye line across the oval. These lines will help you ensure facial symmetry.
- Place additional guidelines for the bottom of the nose and the placement of the mouth, following standard portrait proportions.
- Sketch the basic shape of the jawline and chin, refining the initial oval.
- Outline the hairline and the general shape of his short-cropped hair.
Remember, using very light pencil strokes during this stage is crucial. These are just guidelines that will be erased later.
When you’re working on something like mbappe tekenen, these steps are even more important. Small details can make or break the likeness.
Take your time with each step. It’s better to get the proportions right at the beginning than to rush and have to start over.
Step 2: Defining Mbappé’s Distinctive Facial Features
Let’s get into the nitty-gritty of drawing Kylian Mbappé. Start with the eyes. Place them on the horizontal guideline, making sure to capture their specific almond shape and spacing.
I once spent hours perfecting the eyes, only to realize they were too far apart. It’s a common mistake, so keep checking your reference.
Now, onto the nose. Pay attention to its width and the shape of the nostrils. Use the guideline you created to keep it in proportion.
I learned the hard way that a slightly off-center nose can throw off the whole face. Trust me, it’s worth the extra effort to get it right.
Next, sketch his mouth and lips. Focus on capturing his common expression, whether it’s a slight smile or a more neutral look. I’ve found that a subtle smile adds a lot of life to the drawing.
But don’t overdo it; a little goes a long way. Fhthrecipe
Moving on to the eyebrows. Make sure they align correctly with the eyes and nose. Eyebrows can be tricky, but they add a lot of character.
I used to make them too thick, which made the face look cartoonish. Keep them natural and defined.
Finally, add the ears. Ensure their tops align with the eyebrows and bottoms align with the base of the nose. Ears are often overlooked, but they’re crucial for a balanced look.
I’ve had to erase and redraw them more times than I can count.
Throughout this process, constantly compare your drawing to the reference photo. This step is key. I’ve had to start over more times than I’d like to admit because I didn’t check my work enough.
Remember, mbappe tekenen is all about getting those small details right. Take your time, and don’t be afraid to make adjustments.
Step 3: Adding Depth with Shading and Final Details

Now, let’s dive into the fun part—adding depth with shading. It’s like giving your drawing a breath of life.
First, use basic shading techniques to create a three-dimensional look. Imagine how the light hits the face, casting shadows under the cheekbones, along the jawline, and on the sides of the nose. These shadows give the face form and make it pop off the page.
Next, focus on the hair. Use short, deliberate strokes with a darker pencil to render the texture. Think about how the hair feels—whether it’s wavy, straight, or curly.
Each stroke should capture that texture, making it almost tangible.
Adding final touches is where the magic happens. Put highlights in the eyes to make them sparkle. Add shading on the neck below the chin to give it a more natural, rounded look.
These small details can make a big difference.
Don’t forget to add the neckline of his jersey. This little detail grounds the portrait and makes it more complete. It’s like adding the finishing touch to a painting.
Lastly, clean up the drawing. Erase any stray guidelines and smudges for a polished finish. It’s like tidying up a room—everything looks better when it’s neat and tidy.
And there you have it—your mbappe tekenen is now a fully realized, detailed portrait.
Your Finished Portrait and Next Steps
Congratulations on completing your drawing of Kylian Mbappé! You’ve just gone through a simple three-step process: sketching the foundation, defining the features, and adding depth with shading. mbappe tekenen is a great achievement. Drawing is a skill that improves with consistent effort and practice.
Don’t be discouraged if your first attempt isn’t perfect. Try again and see how much you improve. Consider trying to draw other famous athletes or figures using the same techniques you just learned.
Keep creating and honing your artistic skills. The more you practice, the better you’ll get.
 Ask Virgilio Feeleystin how they got into cooking tips and techniques and you'll probably get a longer answer than you expected. The short version: Virgilio started doing it, got genuinely hooked, and at some point realized they had accumulated enough hard-won knowledge that it would be a waste not to share it. So they started writing.
What makes Virgilio worth reading is that they skips the obvious stuff. Nobody needs another surface-level take on Cooking Tips and Techniques, Delicious Recipe Ideas, Culinary Trends and Innovations. What readers actually want is the nuance — the part that only becomes clear after you've made a few mistakes and figured out why. That's the territory Virgilio operates in. The writing is direct, occasionally blunt, and always built around what's actually true rather than what sounds good in an article. They has little patience for filler, which means they's pieces tend to be denser with real information than the average post on the same subject.
Virgilio doesn't write to impress anyone. They writes because they has things to say that they genuinely thinks people should hear. That motivation — basic as it sounds — produces something noticeably different from content written for clicks or word count. Readers pick up on it. The comments on Virgilio's work tend to reflect that.
Ask Virgilio Feeleystin how they got into cooking tips and techniques and you'll probably get a longer answer than you expected. The short version: Virgilio started doing it, got genuinely hooked, and at some point realized they had accumulated enough hard-won knowledge that it would be a waste not to share it. So they started writing.
What makes Virgilio worth reading is that they skips the obvious stuff. Nobody needs another surface-level take on Cooking Tips and Techniques, Delicious Recipe Ideas, Culinary Trends and Innovations. What readers actually want is the nuance — the part that only becomes clear after you've made a few mistakes and figured out why. That's the territory Virgilio operates in. The writing is direct, occasionally blunt, and always built around what's actually true rather than what sounds good in an article. They has little patience for filler, which means they's pieces tend to be denser with real information than the average post on the same subject.
Virgilio doesn't write to impress anyone. They writes because they has things to say that they genuinely thinks people should hear. That motivation — basic as it sounds — produces something noticeably different from content written for clicks or word count. Readers pick up on it. The comments on Virgilio's work tend to reflect that.